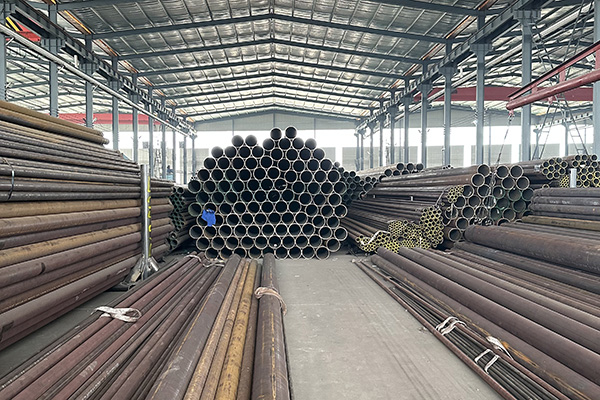

Common Defects and Detection Methods of Seamless Steel Pipes
Seamless steel pipes are essential components in many industries, including oil and gas, petrochemical, power generation, and construction. Ensuring their quality and integrity is critical, as defects can lead to failures, safety hazards, and costly downtime. Understanding common defects and effective detection methods is fundamental to maintaining high standards in pipe manufacturing and usage.
Common Defects
Surface Defects
Scratches and Gouges: Caused by mechanical handling, tooling, or transportation.
Laps and Seams: Formed due to improper forging or rolling.
Cracks: Surface or subsurface cracks can result from thermal stress, mechanical strain, or metallurgical issues.
Internal Defects
Inclusions: Non-metallic impurities such as slag or oxides trapped inside the pipe material.
Porosity: Gas pockets or voids formed during solidification or welding.
Segregation: Uneven distribution of alloying elements leading to localized weakness.
Dimensional Defects
Ovality/Ellipticity: Deviation from the perfect circular cross-section.
Wall Thickness Variations: Uneven pipe wall that can weaken pressure resistance.
Length and Straightness Issues: Affect installation and pipeline integrity.
Metallurgical Defects
Grain Size Irregularities: Coarse grains may reduce toughness.
Improper Microstructure: Such as untempered martensite or bainite, affecting mechanical properties.
Detection Methods
Visual Inspection (VT)
The most basic method to identify surface defects, cracks, and obvious dimensional issues. Often performed before and after processing stages.
Ultrasonic Testing (UT)
A widely used nondestructive testing method to detect internal flaws such as inclusions, cracks, and porosity. It can also measure wall thickness accurately.
Magnetic Particle Testing (MT)
Suitable for detecting surface and near-surface cracks or laps in ferromagnetic materials. It uses magnetic fields and ferrous particles to highlight discontinuities.
Radiographic Testing (RT)
X-rays or gamma rays are used to visualize internal defects such as voids or inclusions. It provides a permanent record but requires safety precautions.
Eddy Current Testing (ECT)
Effective for detecting surface and near-surface defects and measuring wall thickness in conductive materials without contact.
Dimensional Inspection Tools
Instruments such as calipers, micrometers, and laser scanning systems are used to check pipe diameter, ovality, wall thickness, and straightness.
Hydrostatic Testing
Pressure testing with water to verify the pipe's ability to withstand operational pressures without leaking or failing.
Conclusion
Identifying and addressing defects in seamless steel pipes ensures operational safety, compliance with standards, and product reliability. Combining multiple inspection techniques enhances defect detection accuracy, enabling timely corrective actions and maintaining high quality throughout the pipe’s lifecycle.
References
ASTM A578 – Standard Practice for Nondestructive Testing of Steel Tubular Products
API 5L – Specification for Line Pipe
ASME Boiler and Pressure Vessel Code, Section V – Nondestructive Examination
Krauss, G. (2015). Steels: Processing, Structure, and Performance.
Zhang, Y., & Li, H. (2019). “Detection Techniques for Seamless Steel Pipe Defects.” Journal of Materials Engineering and Performance, 28(7), 3980–3990.


